Showing posts with label Ikea. Show all posts

Monday, July 18, 2011

Interior Progress

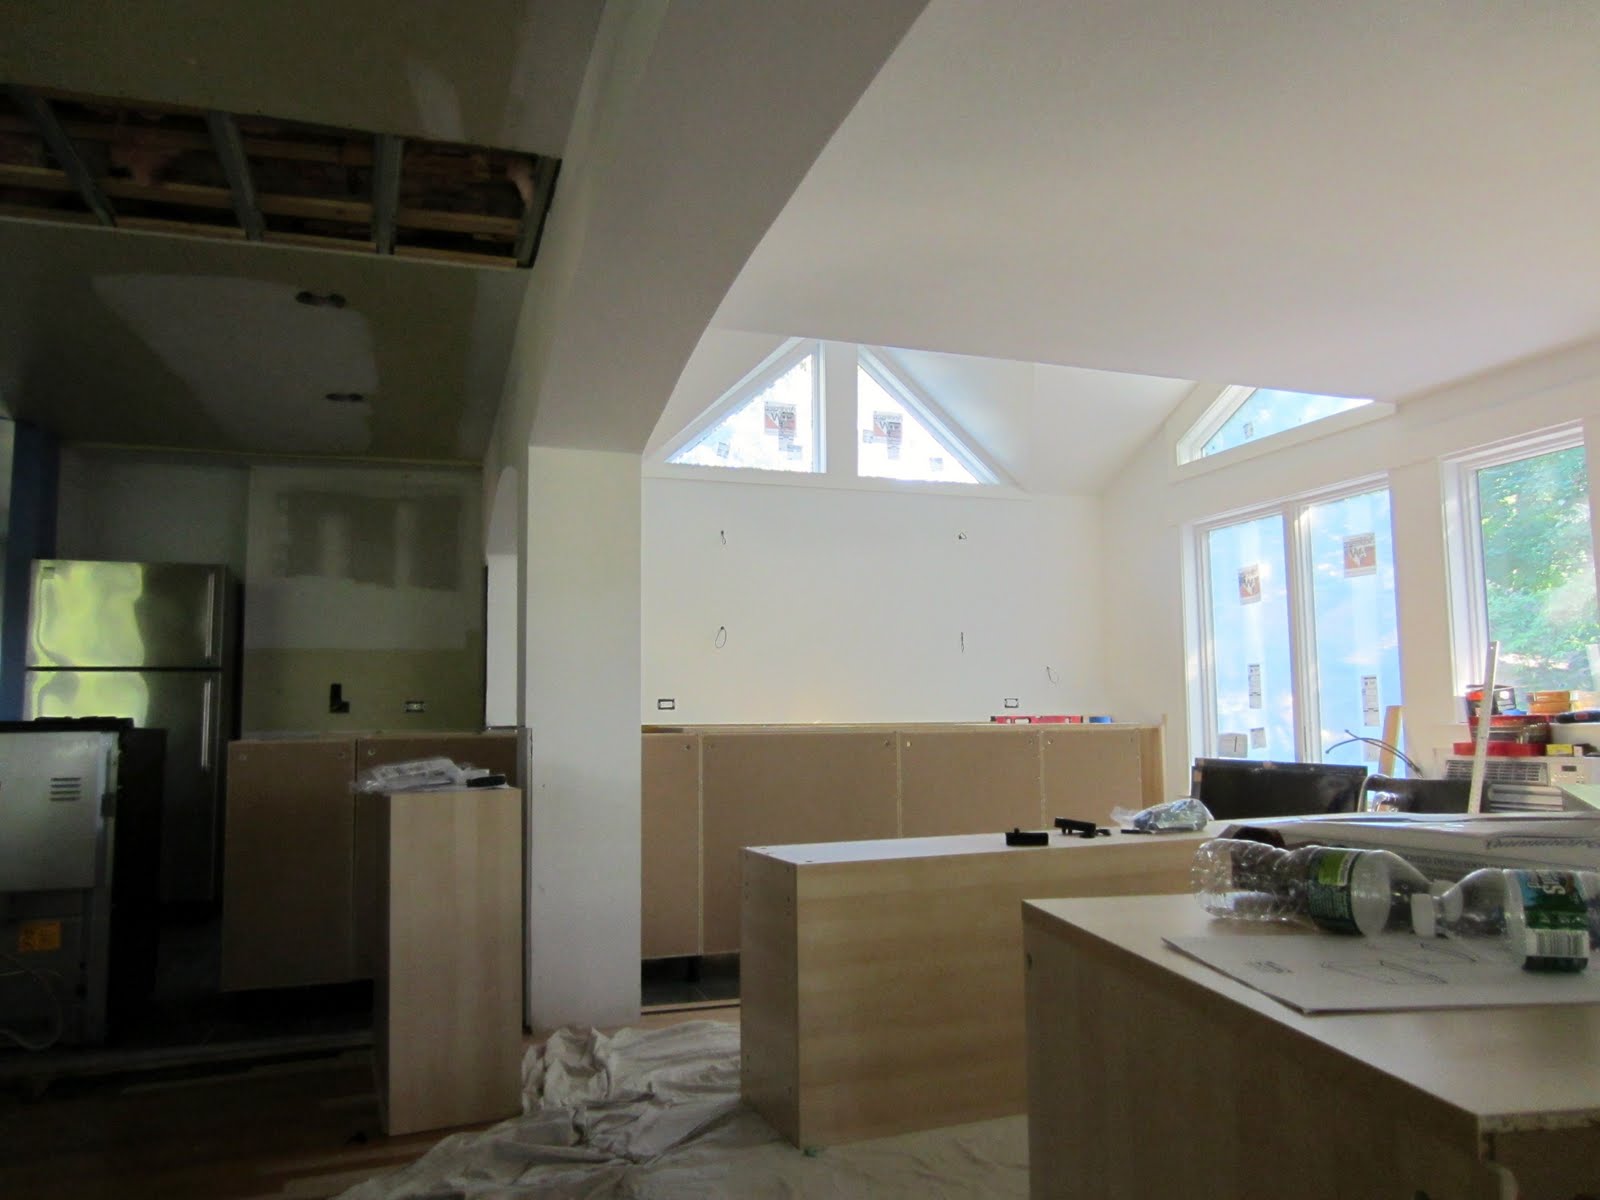
This view at left is almost the same as the one in the upper right corner of my blog title. You can see the new archways (where the old exterior wall was removed) and extra space. We moved the sliding door to the new exterior wall.


Below are the Ikea cabinets that make up the new kitchen island. This island seperates the kitchen and living/dining areas. The cabinet fronts are temporary - a cabinet maker is making custom door and drawer fronts in oil-finished cherry. The walls at the ends of the island will be finished with tile (the same as the backsplash) and there will be square cherry "legs" at the corners. The wall shown below is 6" higher than the counter and will wrap around the back side of the counter top to shield the sink from the living/dining area. It will be topped with a granite bar top.


The side of the island facing the living/dining areas (in progress at left) has open cherry shelves and wine storage. I higher bar top on the left side of the column will shield the sink counter from view. The granite counter top at the right side of of the column will overhang the shelves to allow for counter seating.

There will be two open cherry shelves above the range (between the overhead cabinets) on the back wall of the kitchen.
We moved the old bar top to the screened porch (right now it's holding some of our plates and glasses while the new kitchen is under construction). The porch ceiling has yet to be installed, but the screening is in and we've been using it often.

Saturday, July 16, 2011

2nd Floor Progress


Above is the dressing area between the master bedroom and bathroom. The tall black cabinet frames in the alcove are Ikea Pax series wardrobes. These will have sliding doors and lots of drawers and other accessories.

It was so much fun picking out all of the interior parts for these closets. Ikea's Komplement system has super cool drawers with all sizes of compartments for different kinds of storage, shoe organizers, baskets, bins, shelves, rails, etc. The possibilities are endless!

Tuesday, July 12, 2011

Kitchen Progress

These photos are from the day our contractors started assembling the Ikea cabinets. Our old kitchen was also an Ikea kitchen, and I put together all of the cabinets myself. It's easy - anyone who can assemble furniture can do it. That kitchen didn't have many cabinets, though, so I'm happy that someone else is doing it this time. If you are going to put together your own kitchen (or any other furniture) a cordless drill or screw driver is essential.

The Ikea kitchens have improved in the 10 years since I installed my first one. The drawers now have dampers that prevent them from slamming shut, and there are more cabinet sizes available.


Things are a bit of a mess - carryout and the microwave are helping us deal with dinner!

We were able to find the same 12x12 slate tile that we installed in our old kitchen, pantry, hallway and bath. The tile installer continued the original brick pattern. You wouldn't be able to tell where the old and new tile start, except for the fact that the old grout is dirty - I'll have to look into cleaning it.

Monday, April 11, 2011

Ideas - Pendant Lights

These pendant lights cost about $7 each from Ikea. They actually came with a plug on the end of the wire, and were meant to be plugged-in and hung from a hook. I bought white ceiling escutcheons from Home Depot, and our electrician wired the lights directly to the electrical box.

Ikea always has a large variety of inexpensive light fixtures, and a lot of times they can be modified or combined to create something unique. Check out Ikea Hackers for more inspiration.


This ceiling fixture also came from Ikea. It's almost identical to a much more expensive fixture I wanted to buy.

Saturday, April 9, 2011

Ideas - More Display Shelves

We only have a few overhead cabinets in our kitchen, mainly because I added three windows where most people would probably put more cabinets. I wanted to bring the outside into the house as much as possible, and the view of the woods behind our house is really nice. To create more storage space, I had a glass company make curved shelves from 3/8" glass - the kind you would use for the top of a coffee table. I mounted these just above eye-level in front of the windows on brackets I bought at Ikea. It's a handy storage area for stuff that's nice to look at.